 Line Object
A Line object is a
member of shape objects group. To insert Line object:
1. Select the Line menu item.
2. Click in the design area where you want to insert the shape.
3. Release your mouse.
4. Reset your mouse focus to default.
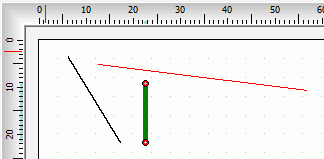
From the design editor workplace you can force a line to be horizontal
or vertical by hooking and dragging any of the line's coordinates
clockwise or anti-clockwise.
When the line is horizontal or vertical, using necessary commands  on the toolbar or main menu bar, you can perform additional
operations such as extend, trim and
join the lines
The Object
Properties Inspector
displays
properties Line
objects:
| Top |
Coordinate
x from object insertion point in the current unit of
measurement. |
| Left |
Coordinate
y from object insertion point in the current unit unit of
measurement. |
| Color |
Color of the line object. Click on the Color bar to change. |
| Print |
Check (mark, tick) the box if you want to print the
content of the object in the final label design printout. |
| Width |
Width of the object |
| Height |
Height of the object |
| Pen Width |
Thickness of the line used for the borders. |
|
Extend,
Trim, Join Line Objects

toolbar buttons

Extend Line object
|

Trim Line object
|

Join Line Objects
|
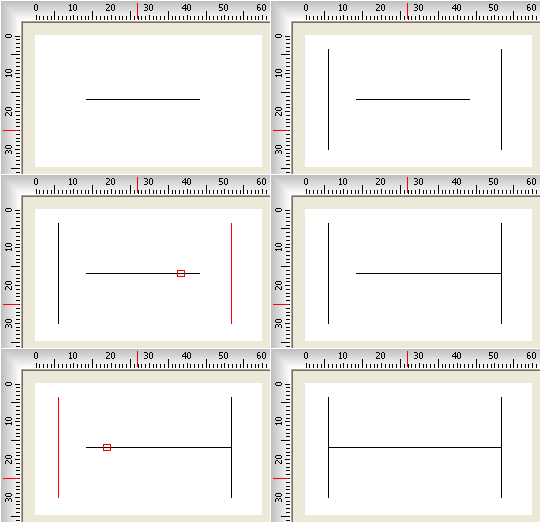
Extend
Select the necessary button from the
toolbar
Select a reference line or rectangle object
Select the line(s) you want to extend to the reference
line.
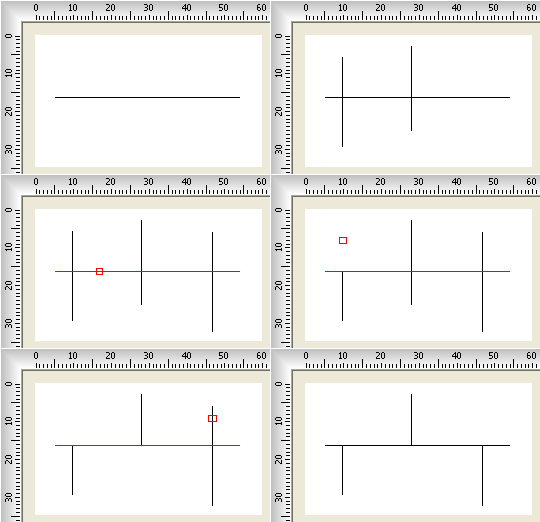
Trim
Select the necessary button from the
toolbar
Select a reference line or rectangle object
Select all the intersecting lines you want to cut off.
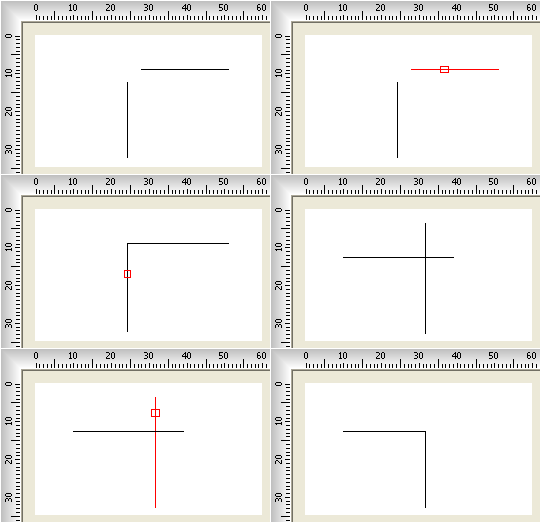
Join Lines
Select the necessary button from the
toolbar
Select the two lines you want to join.
Notes:
To extend, trim or join lines, the lines must be horizontal or vertical.
 on the toolbar or main menu bar, you can perform additional
operations such as extend, trim and
join the lines


